Blogging with Jekyll
Posted August 28, 2018 at 12:00 PM by Avery Vine
Estimated: 5 min

I think the most fitting way to start my blog would be to talk about the process of setting it up in the first place! The idea to blog first came into my head about a week ago, but at the time I figured that I didn’t have the technical expertise and experience to post information about the technologies I work with with any sort of authority. However, over the past week I’ve grown attached to the idea of blogging. Not only does it provide an interesting way for me to reflect on the stuff I’ve worked on, but it can provide context to future me when I go back to projects I’ve worked on in the past - and it doesn’t only have to be a professional blog. The blogging platform I’ve chosen (more about that in a moment) gives me the flexibility to categorize posts, besides just tagging them with particular keywords. This way, I can essentially separate my posts into a variety of categories that fit my lifestyle and experiences.
Anyway, enough introduction. Time to talk about Jekyll!
What is Jekyll?
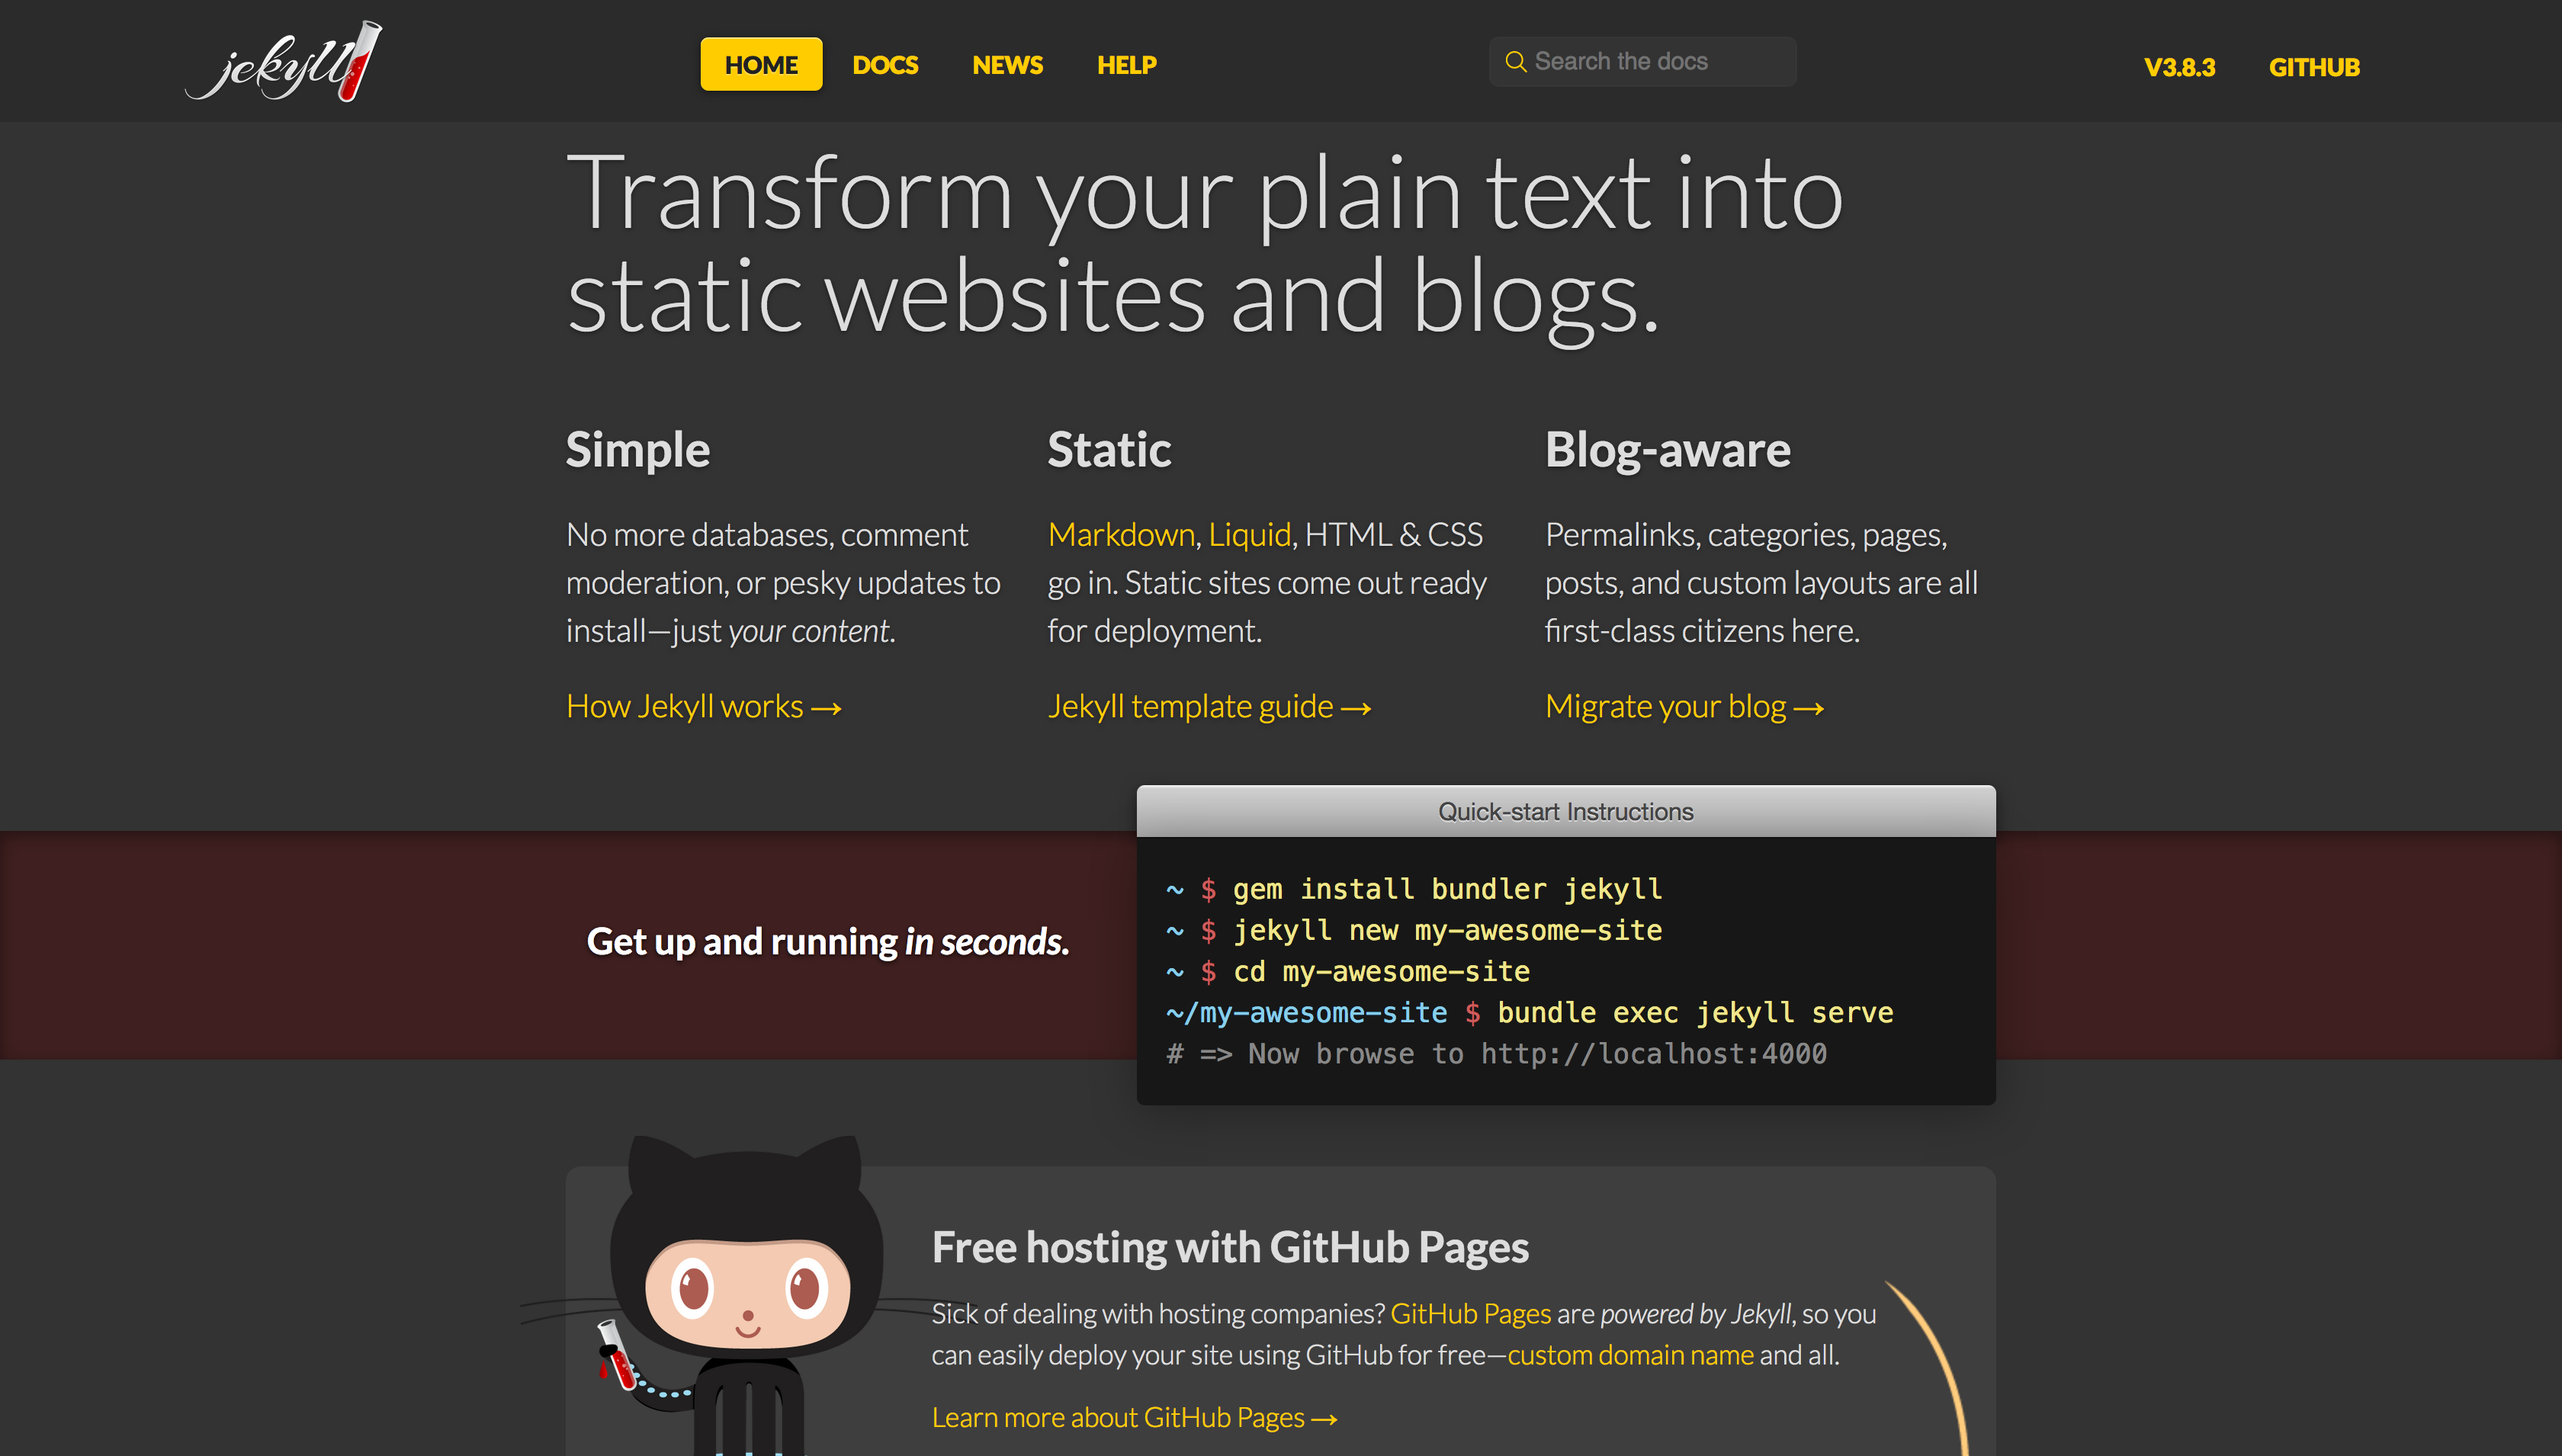
Jekyll is a static site generator created by GitHub. It is “blog-aware”, meaning that it supports the use of categories (mentioned above), tagging, pagination, and many other blogging-related features.
My motivation for choosing Jekyll for this project was simple. I first looked into more famous blogging options such as Medium and WordPress, but quickly found that there would be various issues with those platforms, such as not being able to run WordPress due to statically hosting the rest of my site, and Medium removing their self-hosted blog setup a few years ago. Jekyll ended up being the ideal solution for me, as I would be able to statically generate my blog posts from .md or .markdown files, and serve them under the /blog subdomain of my website.
However, all of the Jekyll setup tutorials are written with the idea that you will be creating a brand new static website from scratch, as opposed to adding the blog to a subdomain of an existing site. The configuration steps I had to take in order to circumvent that were what made this project interesting.
Setting Up
In the public directory of my website, I ran the command jekyll new _blog, which tells Jekyll to create a new static website under a folder called _blog. I named it such so that when the blog was compiled from .md files to webpages, the generated webpages would be able to live under the /blog directory, giving some consistency between blog-related folders.
The easiest way to generate site content using Jekyll is jekyll serve. This requires a _config.yml file to be available in the directory in which you run the command, as that file contains information relating to the setup of the blog itself, including the site’s title, how many posts to show per page, and the link to my GitHub account. However, as the Jekyll blog is not in fact the root directory of my website, I decided to move the _config.yml file up to the root directory. What allowed me to do this and still maintain a reference to the source files for generating the blog posts was the contents of the _config.yml file itself. I set the following properties:
baseurl:        '/blog'
source:         'public/_blog'
destination:    'public/blog'
This means that Jekyll should look in the public/_blog directory when searching for files to use to generate the blog, place the generated site content in the public/blog directory, and make it accessible at https://averyvine.com/blog. With the basic setup complete, I was able to move onto the next challenge: making my new blog fit the theme of my pre-existing website.
Customizing the Blog
When setting up a Jekyll site, the default theme “Minima” is applied. Although it is a nice enough theme on its own, it really didn’t fit the design I hoped to have for my blog. After a bit of research, I found a theme called “Hydeout”, which more or less matched the design I wanted in terms of layout. There were still some tweaks I wanted to make regarding colour scheme, layout, and sometimes even functionality, but the beauty of Jekyll site generation is that every single aspect of the generation process is tweakable, which gives me the freedom to make whatever changes I see fit.
Once I installed it by following the instructions on the GitHub page for the theme, I was up and running. The GitHub page actually offered some tips on how to customize different aspects of the theme, which made the process of customization a fair bit easier.
I wanted to match the colour scheme of my current website, so I set the sidebar colour to match that of the navbar on my website, and set the background of the rest of the page to match the beige texture of my website’s content background. Now, when navigating between the main site and the blog, the transition shouldn’t be jarring to the user - they’ll recognize that they are on the same website.
Outside of that, I made a few tweaks to blockquotes, tables, code blocks, layout and design on mobile, etc.
Posting Blog Entries

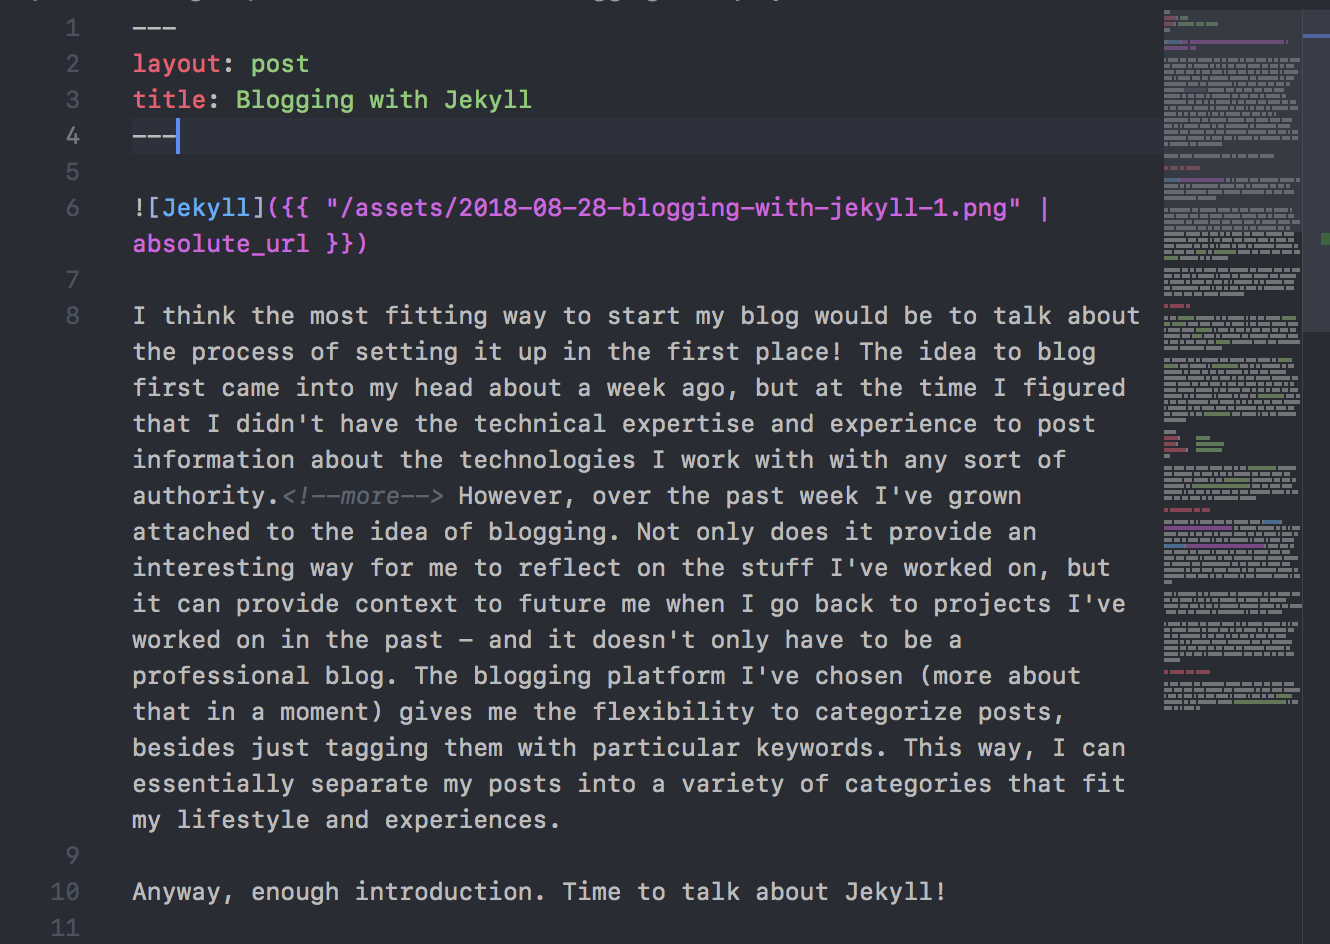
At this point, I’m essentially writing about what I’m doing right now! From this point forward, blog management is very easy. Whenever I want to make a new blog entry, I create a file in the _posts directory in the following format: YEAR-MONTH-DAY-title.md. I set the layout to be that of a post, and give it a title. From there, it’s just basic markdown to fill the contents of the entry. If I want to present an excerpt of the post on the blog home page, instead of the entire contents of the post, I can throw in a tag, as defined in my _config.yml file, which tells Jekyll that anything before that tag should be shown as an excerpt, and anything afterwards is the regular content that should be saved for the actual post’s page. Outside of that, you can do all kinds of things like tag posts, categorize them, etc.
I hope you learned a little bit about Jekyll from this post! Feel free to leave comments or questions in the Comments section below.